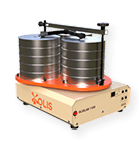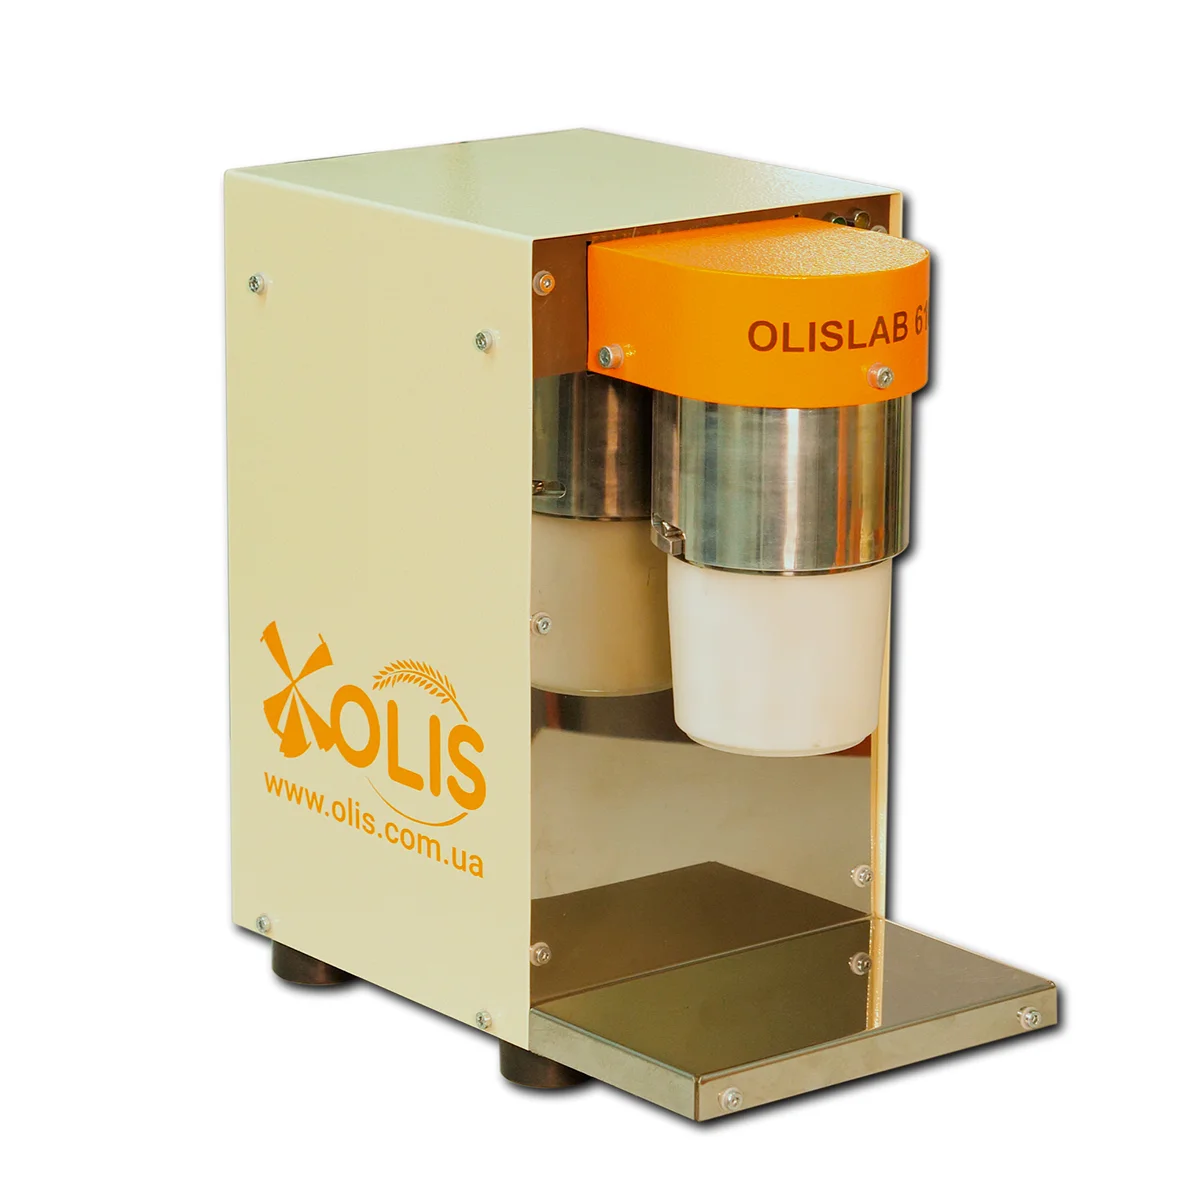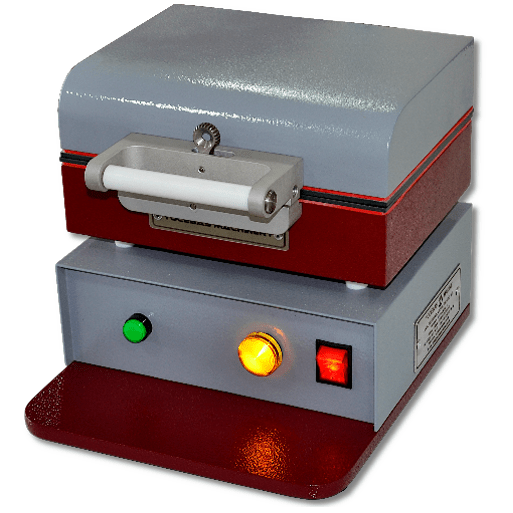
Laboratory Gluten Strain Meter OLISLAB 6200

Purpose and scope:
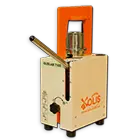
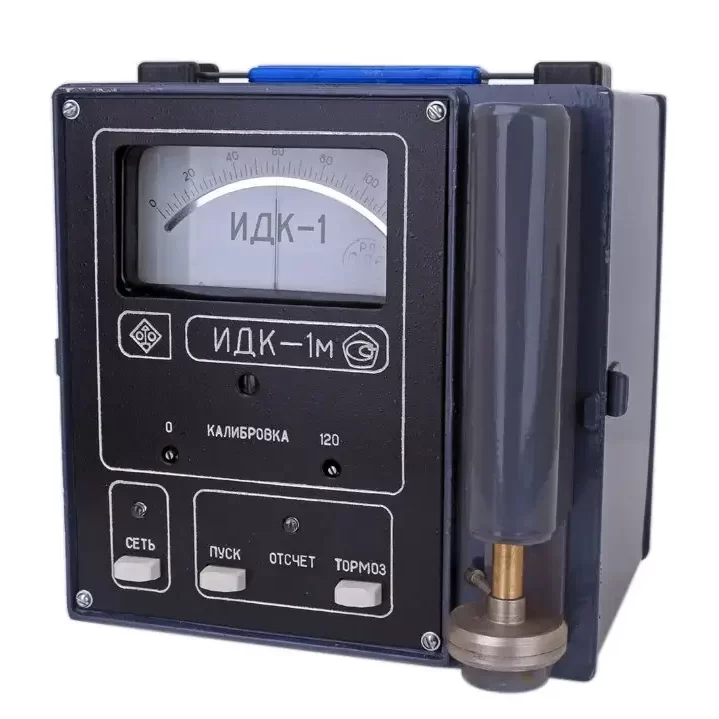
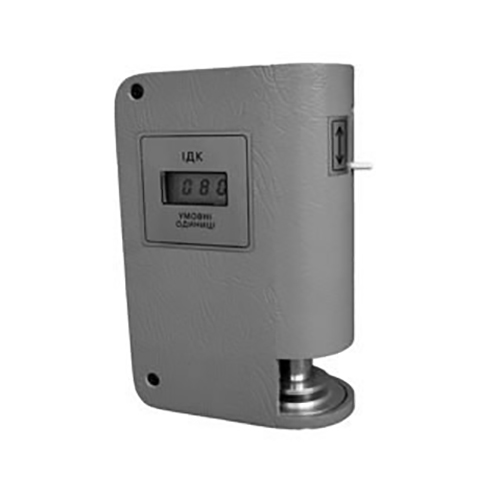
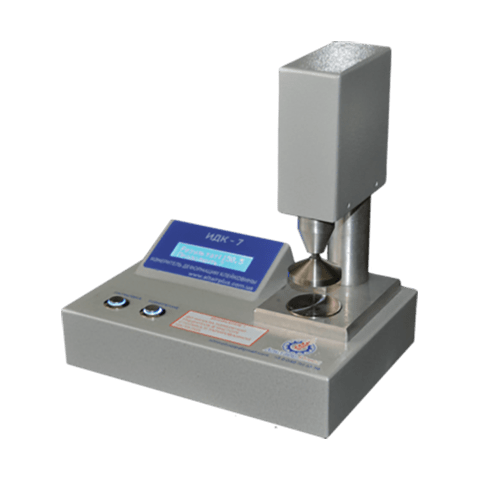
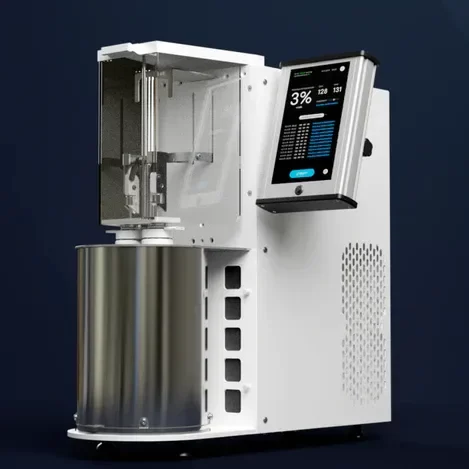
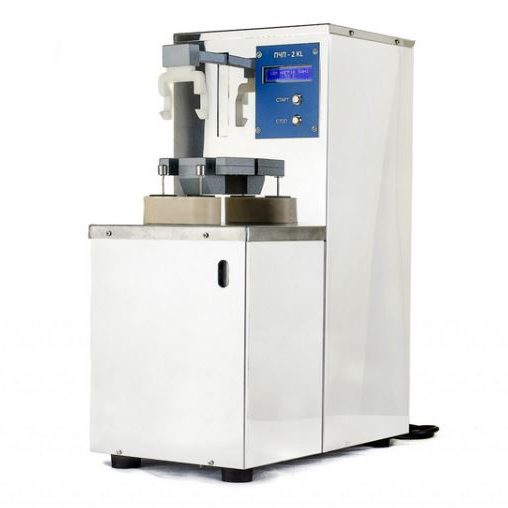
Laboratory gluten strain Meter OlisLab 6200, an upgraded version of the device IDK-3MU, is designed to determine the quality of gluten in wheat grain and wheat flour by the amount of compression deformation under the influence of a certain load during a specified period.
Using the device, the quality of gluten is assessed by the ability of a certain mass of gluten (4 g) to resist compression deformation resulting from the action of a load of a certain mass (120 g) for a specified period (30 s).
It is used at grain-receiving, grain processing, feed, oil extraction, bakery and other food enterprises, variety testing breeding stations, research laboratories and inspection companies.
Scope of application: for the standardized determination of the Gluten Deformation Index: in grain according to GOST 13586.1-68 “Grain. Methods for determining the quantity and quality of gluten in wheat” (cancelled in Ukraine); in flour according to GOST 27839-88 “Wheat flour. Methods for determining the quantity and quality of gluten” (cancelled in Ukraine); and for use in other methods according to domestic and international standards.
Description:
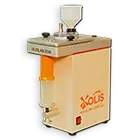
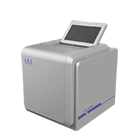
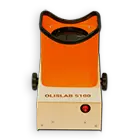
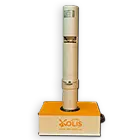
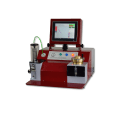
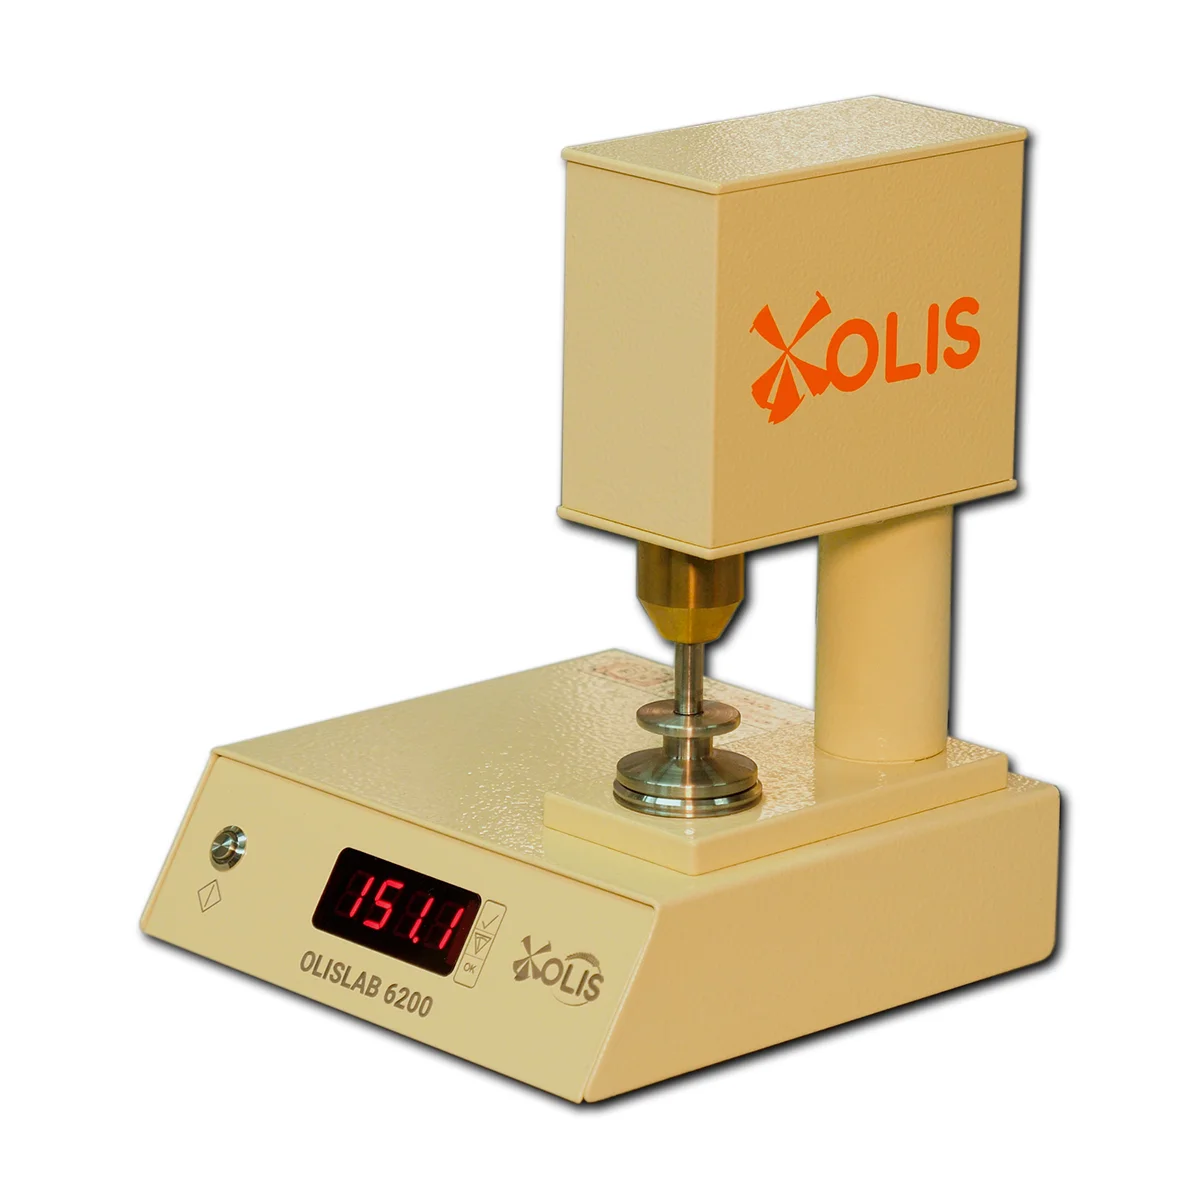
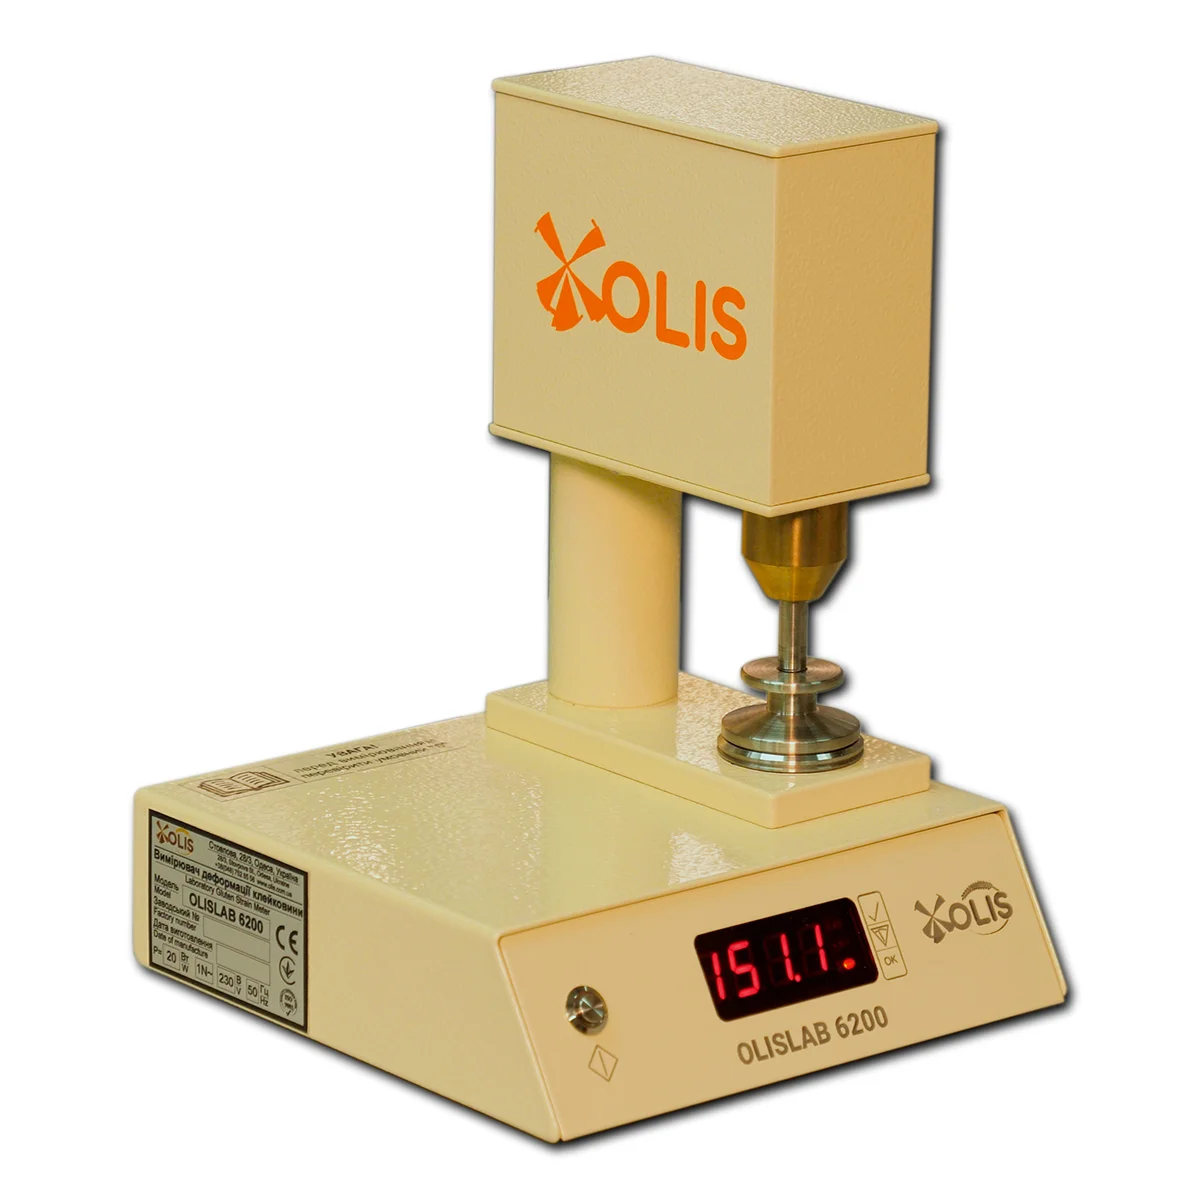
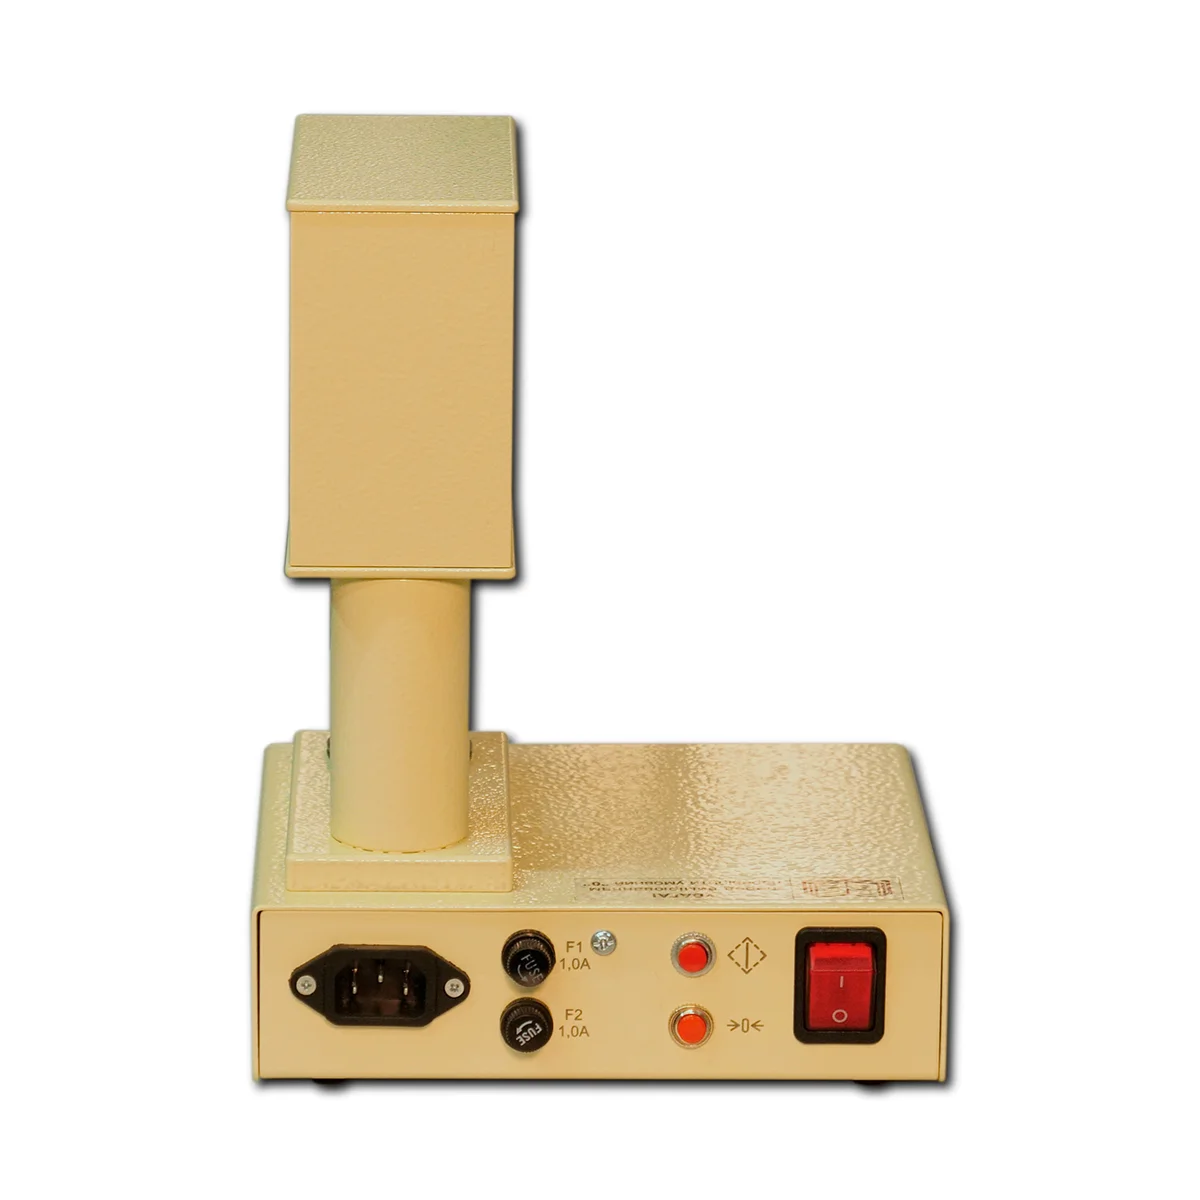
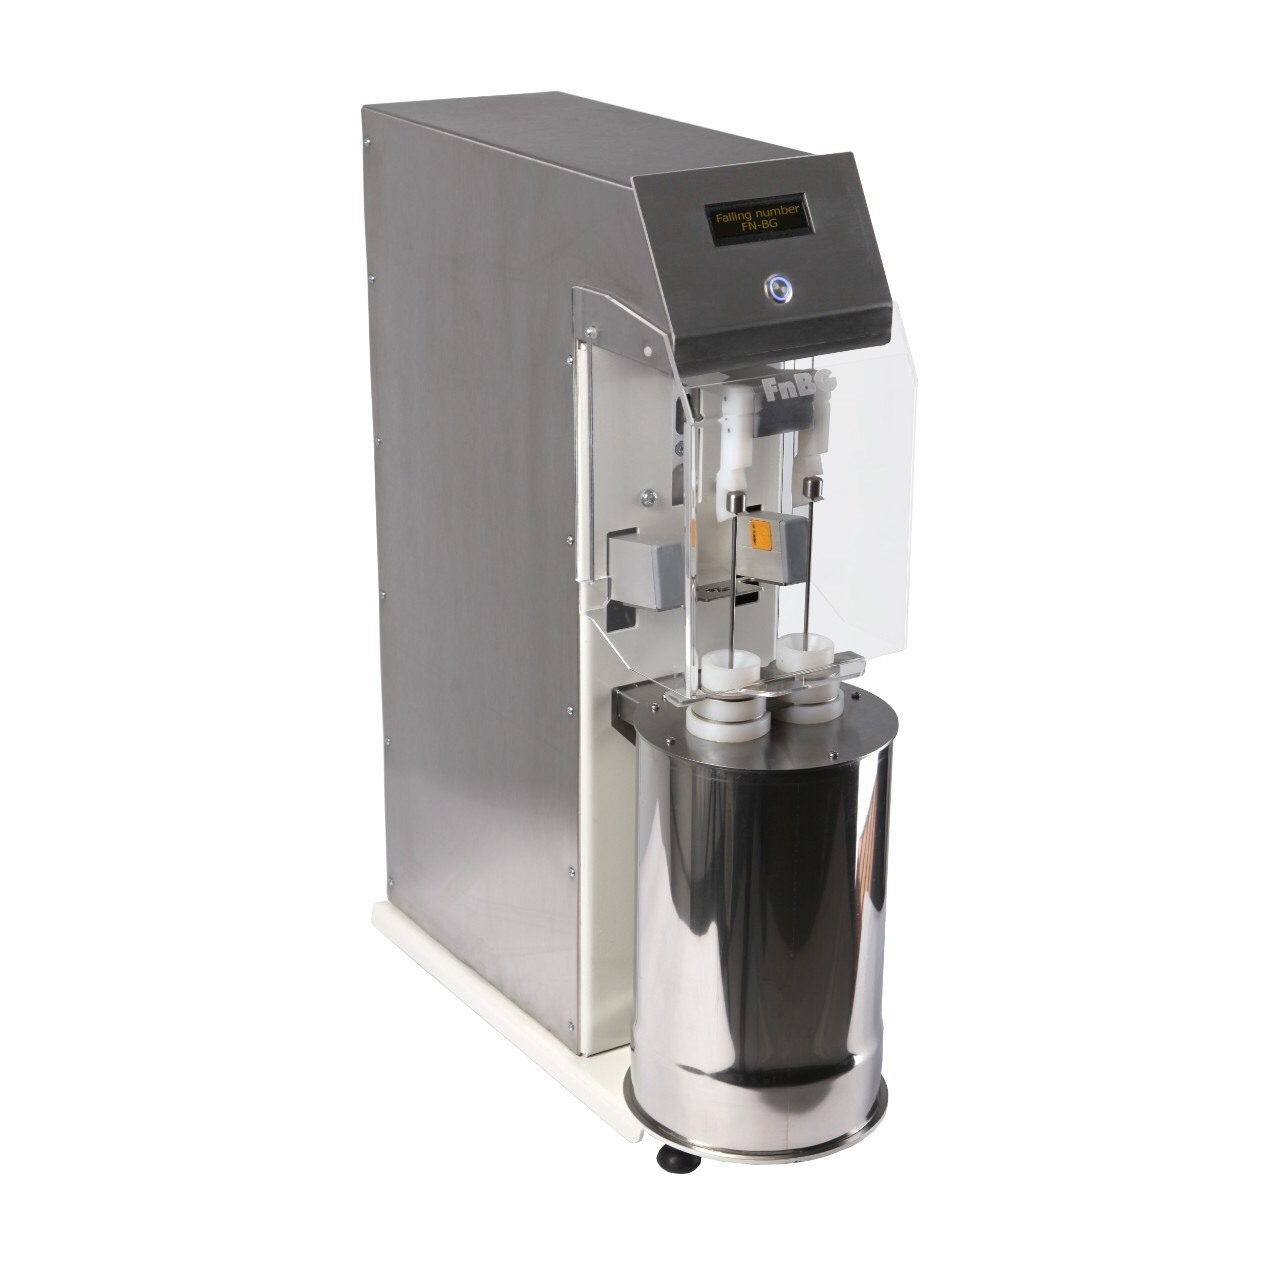
The device consists of a body with an electronic control unit, on which a stand, a table, and a display are installed. On the rear wall of the housing there is a power cable socket, a power switch, two fuse holders, a button for switching on the test mode “TEST”, a button for bringing the measuring system to conditional zero “>0<“. On top of the case there is a button for starting the measurement mode “START”.
Operating procedure: the device is connected to the power supply, the gluten sample is placed on the working table. When the button is pressed, the rod, together with the punch (calibrated load), freely falls on the gluten sample and acts on it for 30 seconds, deforming the sample and moving. The movement of the rod is read by the measuring electronic system of the device, the result is displayed in conventional units of the gluten deformation index (IDK).
Specifications
| Model | OLISLAB 6200 |
| Limit of measurement IDK, mm / CU | 0…10,55 / 0…150,7 |
| Measurement error, mm / CU | ± 0,035 / ± 0,5 |
| Mass of movable calibrated cargo, g | 120 |
| Duration of the impact of a moving calibrated load on the sample, sec | 30 |
| Amount of cargo movement, mm | 20 |
| Protection class against electric shock | I |
| Network type | 1N~ |
| Power supply: voltage/frequency, V / Hz | 230±23 / 50 |
| Power consumption, W | 20 |
| Overall dimensions L × W × H, | |
| – in working condition, mm, not more | 200 × 190 × 250 |
| – in transport condition, mm, not more | 310 × 310 × 310 |
| Net/gross weight, kg | 3,5 / 6,0 |
| Operating conditions: | |
| – ambient temperature, ℃ | 5…30 |
| – relative humidity, % | 60 ± 15 |
Аdvantages
ACCURACY
Extended measurement range – up to 150 units.
Measurement with an accuracy of ±0.5 units.
Guaranteed accuracy of manufacturing calibration plates.
Supplied with a Certificate of Calibration.
ERGONOMIC
Modern technical design.
Simplicity of a design and convenience of operation.
Low weight and size indicators.
Four-digit LED display.
SAFETY AND DURABILITY
Increased reliability.
Durable metal body.
Resource of the device before the first average repair is 10 thousand hours.
Service life of the device is 10 years.
Photo
| Model | OLISLAB 6200 |
| Limit of measurement IDK, mm / CU | 0…10,55 / 0…150,7 |
| Measurement error, mm / CU | ± 0,035 / ± 0,5 |
| Mass of movable calibrated cargo, g | 120 |
| Duration of the impact of a moving calibrated load on the sample, sec | 30 |
| Amount of cargo movement, mm | 20 |
| Protection class against electric shock | I |
| Network type | 1N~ |
| Power supply: voltage/frequency, V / Hz | 230±23 / 50 |
| Power consumption, W | 20 |
| Overall dimensions L × W × H, | |
| – in working condition, mm, not more | 200 × 190 × 250 |
| – in transport condition, mm, not more | 310 × 310 × 310 |
| Net/gross weight, kg | 3,5 / 6,0 |
| Operating conditions: | |
| – ambient temperature, ℃ | 5…30 |
| – relative humidity, % | 60 ± 15 |
ACCURACY
Extended measurement range – up to 150 units.
Measurement with an accuracy of ±0.5 units.
Guaranteed accuracy of manufacturing calibration plates.
Supplied with a Certificate of Calibration.
ERGONOMIC
Modern technical design.
Simplicity of a design and convenience of operation.
Low weight and size indicators.
Four-digit LED display.
SAFETY AND DURABILITY
Increased reliability.
Durable metal body.
Resource of the device before the first average repair is 10 thousand hours.
Service life of the device is 10 years.


